
Tags
Following certain occurencies during the last live-roleplaying events (and totally not due to the old clothes falling apart…), I’m all for making a new dress for one of my main liveroleplaying characters, and I might as well document a little of the process.
Unfortunately I am a little incapable of planning a dress in advance, but the initial idea (not that I have the faintest hope of achieving anything even remotely as cool….) goes to the fantastic elven winter dress design of Lenora, which I will at least use as an inspiration, if nothing else.
I would love to start with a drawing of the concept, but, that planning thing again, so the best I can hope is start with a very general thing and iterate myself towards a solution.
A few words on the character first:
The character in question is my longest-played roleplaying character. Her and I go back well more than ten years, and so she has grown quite a lot over the years. She is an elf with a very strong affinity to all things air elemental, a wind-priest and bard. I have been wandering mostly through the colors of blue, grey and white for anything that I have fashioned for her; and now, due to recent events, it has become necessary to give the character a slightly darker, but also more regal note.
So that’s where I start off.
As a general plan, I intend to have a two-layered dress – an underdress that is decorated enough to be used as standalone only during summer, and an overdress, warm enough for cool spring days.
To give credit to the air elemental nature, I usually use lots of fabric, and well flowing fabric, wide skirts and possibly arms.
So – first step: Choice of fabrics.
I started raiding the stores, almost fell in love with this combination:

I am not quite sure what got me there, but I loved the right fabric (the one with the wild pattern) for an underdress… but I couldn’t really envisage what I would wear over it, so I unfortunately said goodbye to that concept and raided the next store.

A classical combination; gray satin, purple velvet (it comes off darker in the picture than in reality) and an embroidered silk that in color fits well to the velvet. Enough of the satin and velvet to make dress and underdress, a little less for the silk – that should be the lining of the arms.
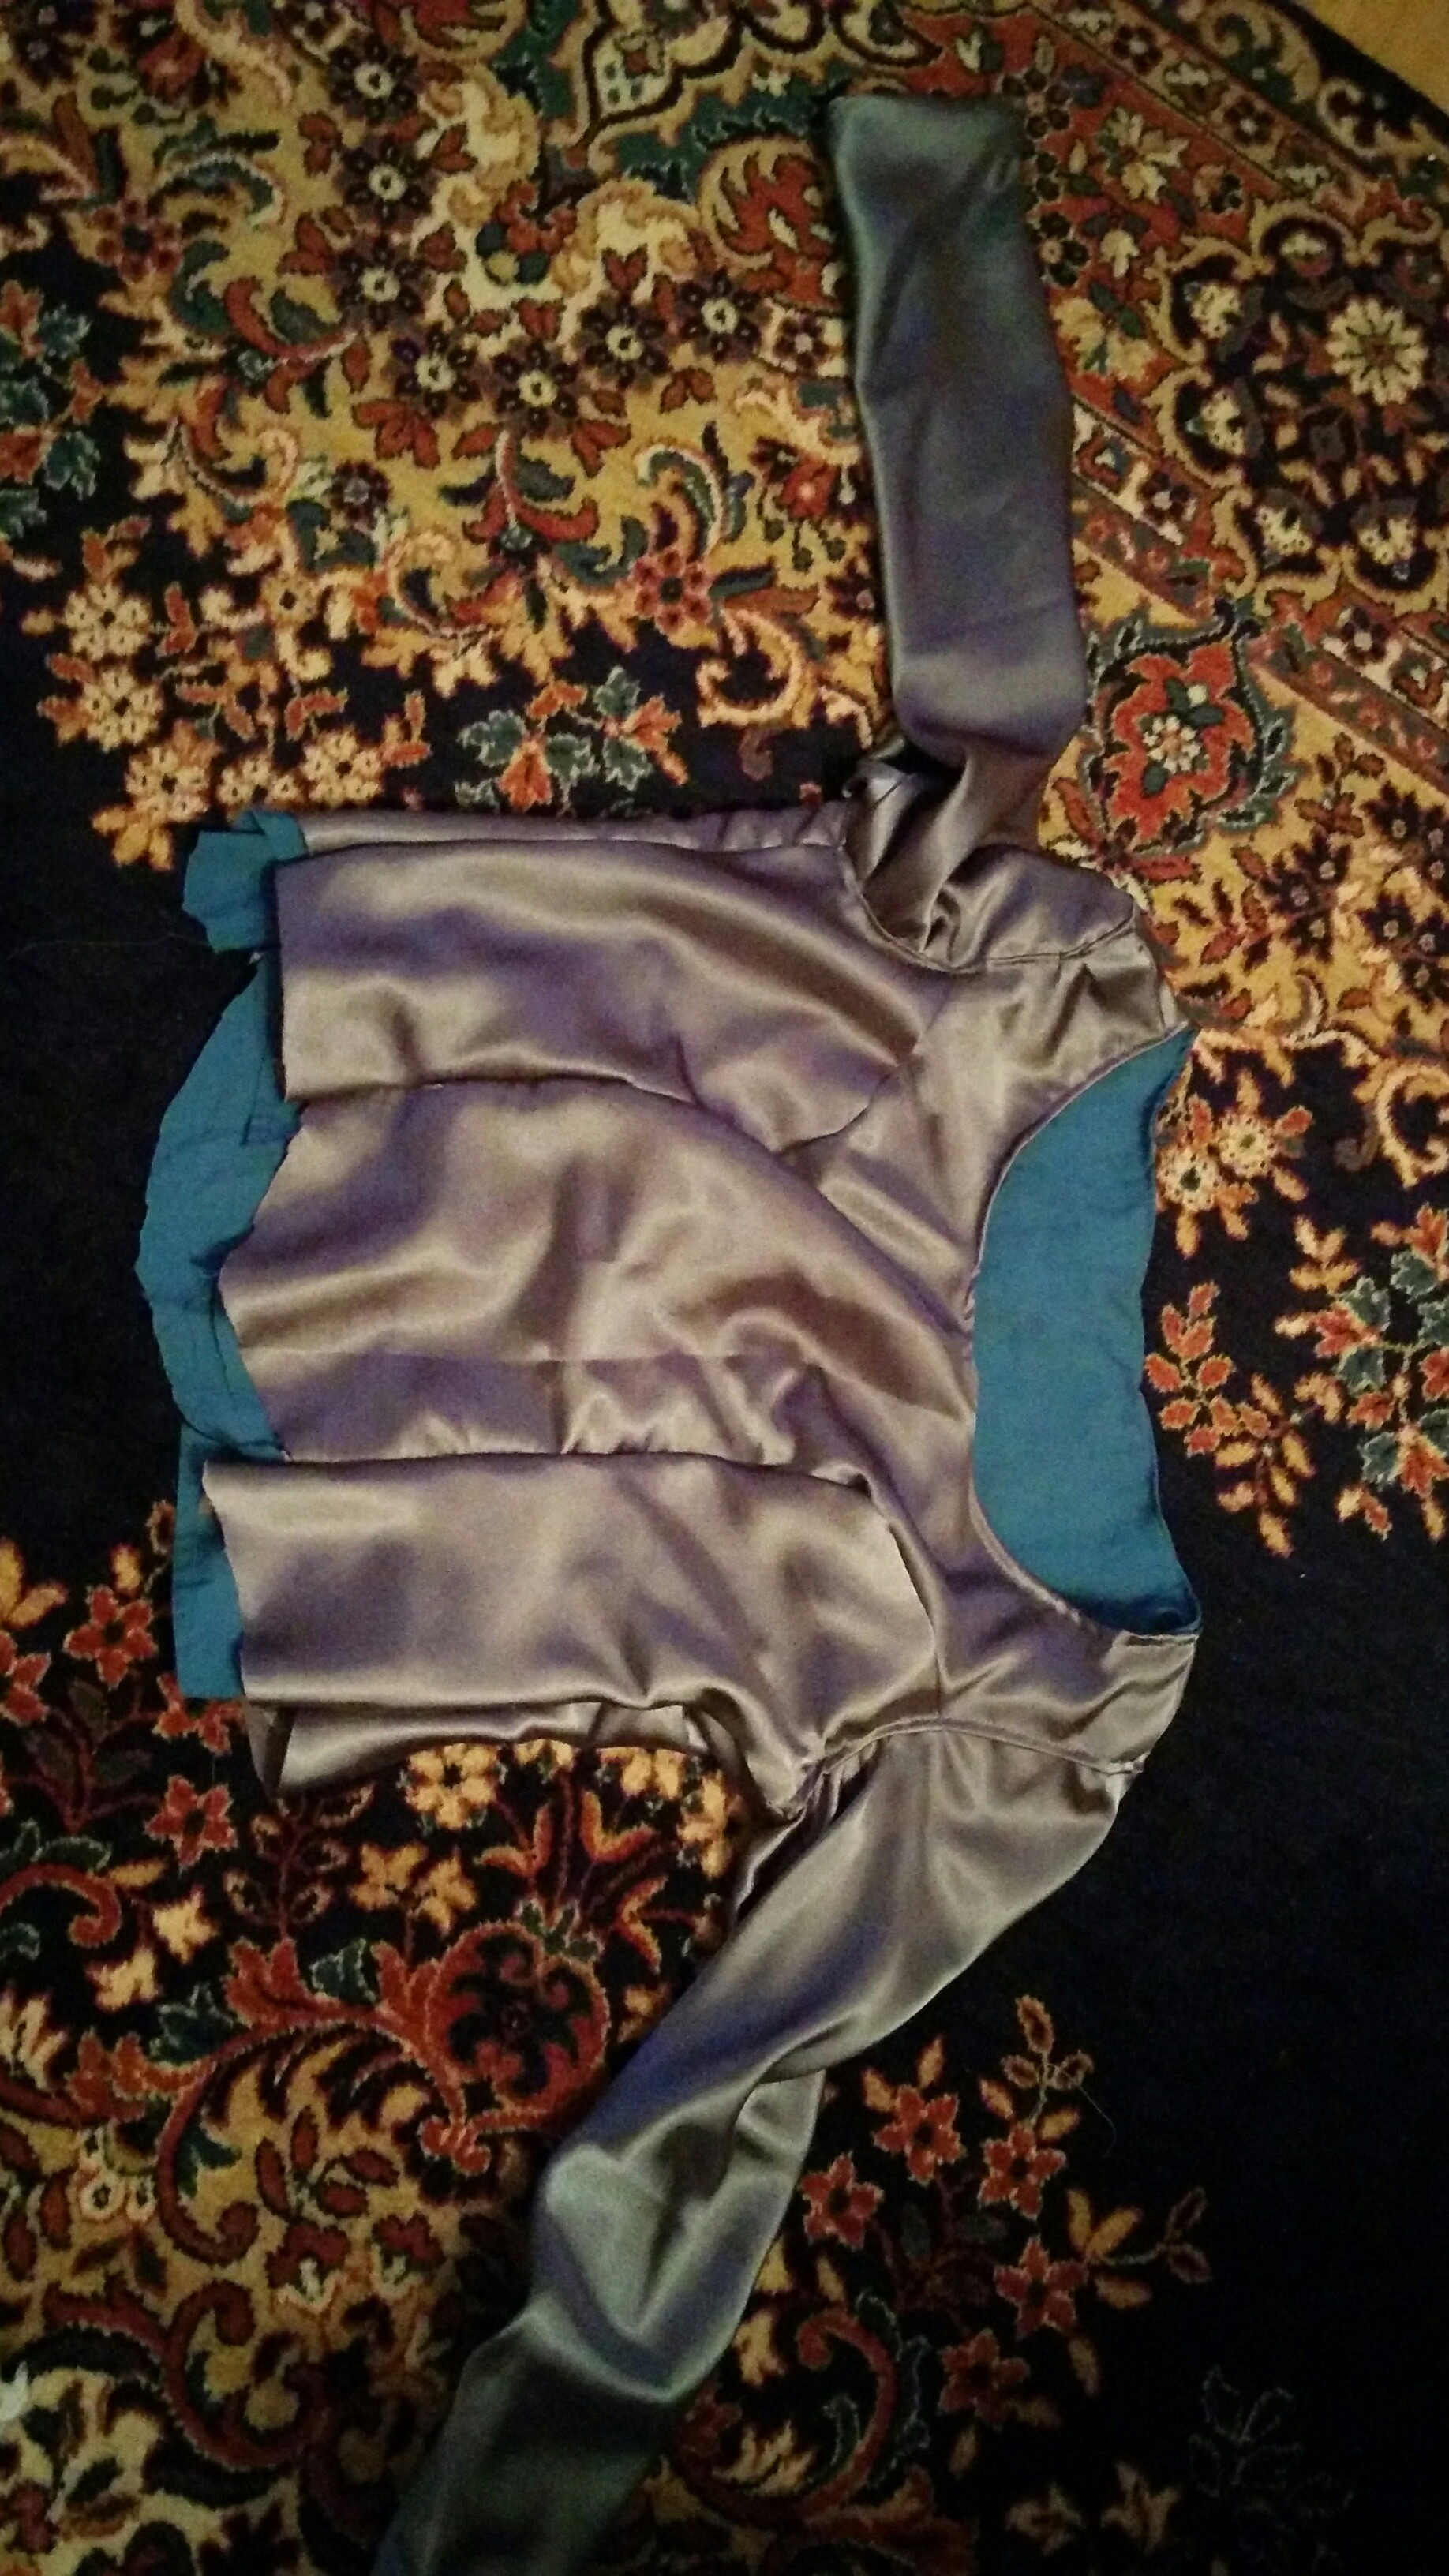
The grey satin should become the underdress. It’s comfortable to wear and has beautiful flowing qualities that will make it ideal as a standalone for the imitation of wind or air magic. Using the “Lady of Camelot” cut from Butterick for its simple lines and more-than-full-circle skirt, and chosing an old shirt of my boyfriends’ for the lining (nothing quite like well-worn linnen shirts for comfort 🙂 ) I set to work. I stuck pretty much to the cut (including not extending the lining to the arms), except for making it slightly larger than I would need so that I neither have to put in a hideous zipper somewhere nor have to put up with stitching lots of tiny holes to draw a band through for tightening the dress.

The blouse was quickly done
 and the skirt attached in the next step

It even fits to my size (hah!), but as one can see without any difficulties, the seam at the waist isn’t really something to be proud of. It’s even worse if I tell you that this is the fourth attempt already, and this is the best of the four. Satin is slippery stuff, friends.
Well, it was not to be helped, and so, if Plan A (fix it) doesn’t work, there’s always Plan B (cover it up), and so I decided to fashion a pseudo-belt to hide the hideous seam at the waistline. That would also have the nice side benefit of adding some texture and detail to the otherwise pretty plain dress.

I sewed by hand the pseudo-belt to the shirt above the waistline (Kids, don’t do this at home with an embroidery needle and white wool as thread. My fingers took two days to remotely recover, and I’m not kidding).
Initially I had intended to also attach it to the skirt below the waistline but a) my poor fingers and b) it turns out that if I do that, I can’t get into the dress any more, so that was one extra plan going down the tubes.
Well, I’m nothing if not flexible, and so I only attached the very front and back tips to keep the pseudo-belt from sliding up and hiding the tedious embroidery I’ve done.
To put the cream on the coffee, some decoration on the arms as well, and lastly the shortening of the dress. I deviated from the cut there, making it short enough to go only down to ankle-length, but since this is supposed to be more of an everyday dress, I really can’t have the seam dragging through the mud all the time.
So much for that, and with this the underdress was finished

Not quite looking like I planned in the first place, but like I said, I tend to do that, and I’m actually quite happy with the result.
As a summary:
Money involved: don’t totally remember, but I think ~100 Euros for the satin, a couple of euros for grey yarn and white wool. The old shirt was for free 🙂
Working hours: including opening up bad seams, fiddling with the waistline, cursing my fingers, the slippery fabric and all that: maybe 20 hours.

Thank you for your lovely comment on my tudor-style doublet. I like the detailing you’ve done on this gown and I hope your character approves of her new attire.
LikeLike
Thanks a lot!
I’ve now started on the coat that goes over that… Time is running, I need the ready thing soon…
LikeLike
Pingback: The wind-elf’s new dress – part two | nerd poison